Thursday 20 December 2012

Tags for the teachers!


Last minute.com strikes again!!! I went back to work today, without much of a voice, but wanted to see out the last day of term and the Xmas Party for the children. After work i got started on a bunch of tags for the teachers and helpers. Another job crossed off of my very long list.


 A simple design, stamped and then coloured with Copic, embellished with a touch of Glossy Accents and some fine glitters.


CraftyHazelnuts Christmas Challenge- Anything goes

Wednesday 19 December 2012

Recipe for salt dough Christmas Decorations


Full of cold, can hardly talk, pounding head, rotten cough. Spent the day dosing myself up with Lemsip and stinking of Olbas Oil. A bit of craft therapy to relax and I have had such fun. Still go to personalise the backs of these then string them.


I followed a basic salt dough recipe

1 cup plain flour
1 cup salt
1/2 cup water
extra flour for rolling
rolling pin
assorted cutters
baking tray
foil
Pre-heat the oven to 100 oC
Mix together the flour, salt into a bowl. 
Add the water and form mix until a soft ball is formed. 
Roll out on a lightly dusted surface and cut shapes as required. 

Consider the thickness of the shapes, I did a mixture of some chunkier ones as well as some which were thinner. I will update with more information but I will say, I did break off the point of a star being too enthusiastic with decorating it! Try not to overwork as I found it got a bit tacky and difficult to work with.
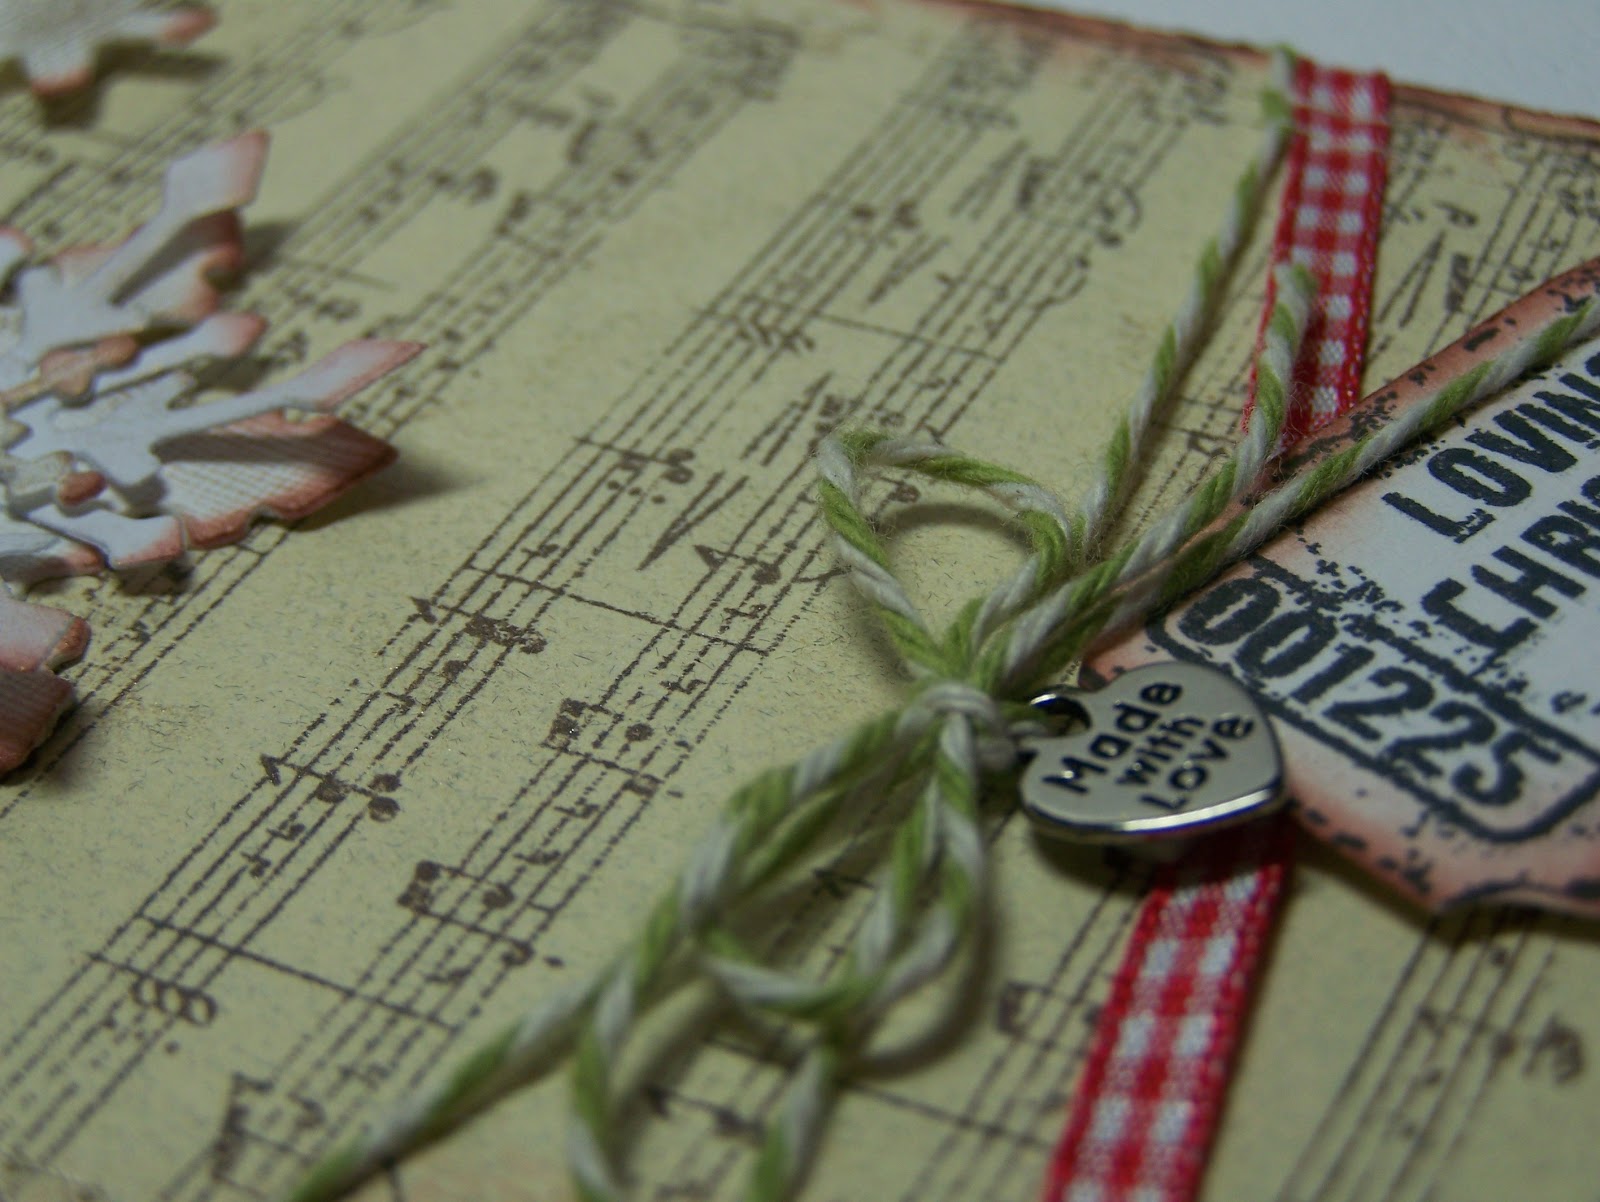
If you are making decorations to hang, don't forget to make the holes!!! A drinking straw is great for the job!

Place your shapes onto a prepared baking tray, I lined mine with grease proof paper and covered with foil. Heat for 2-3 hours.

To decorate.

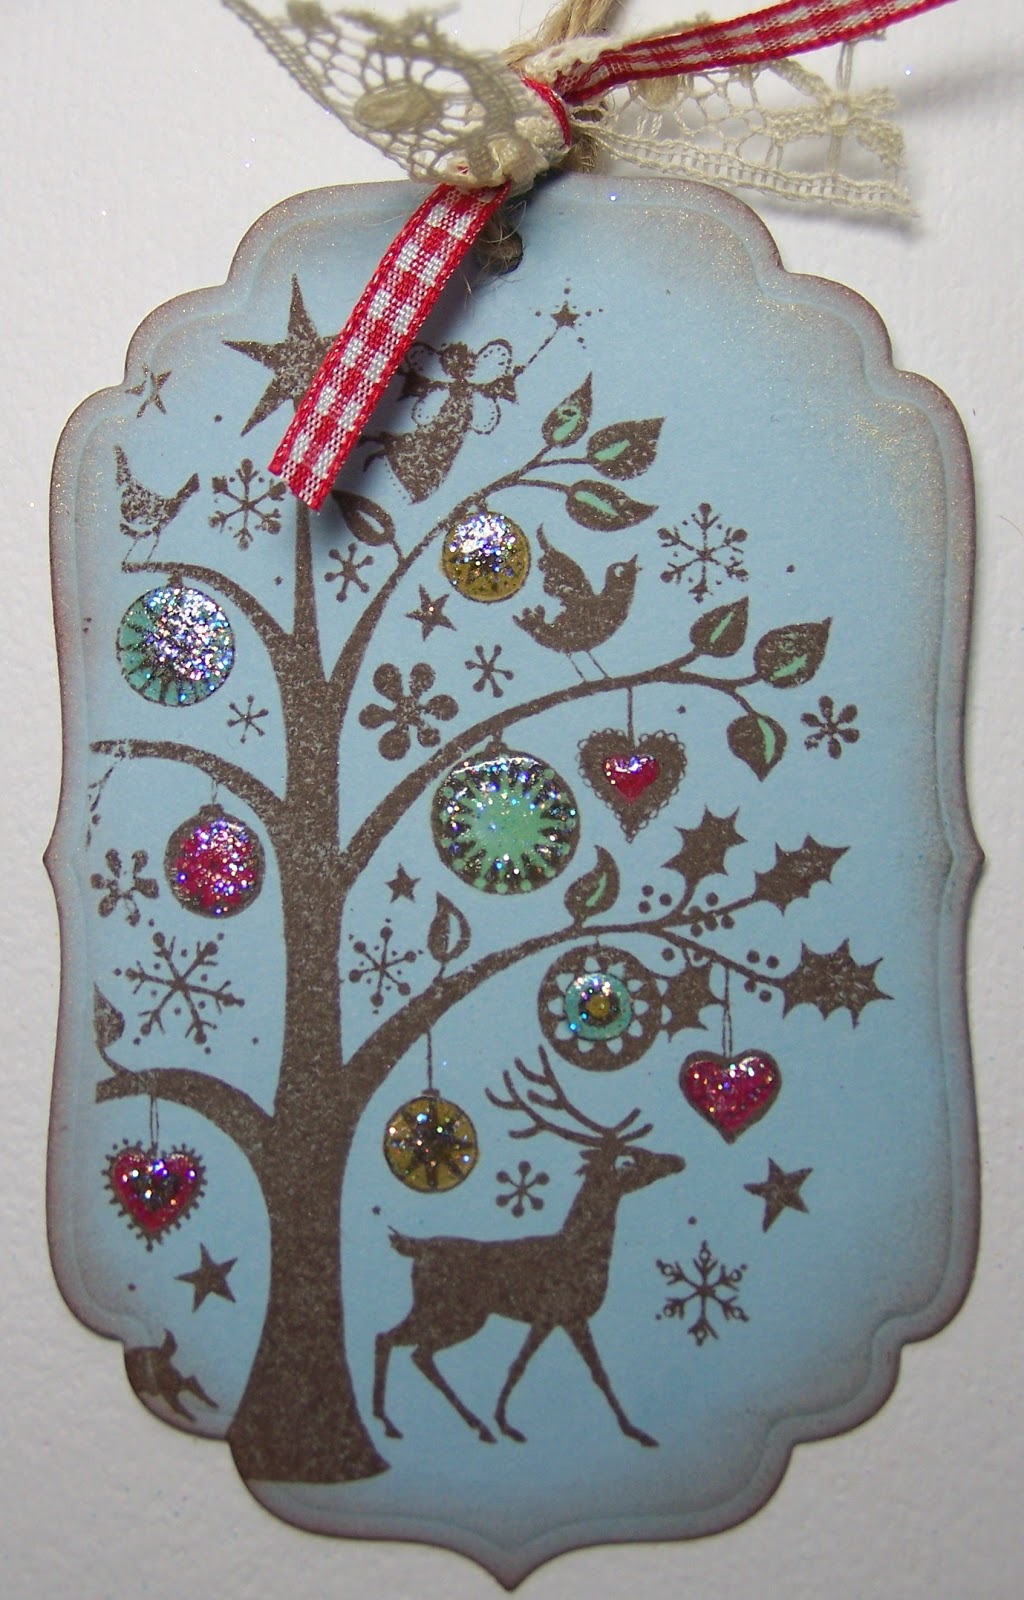
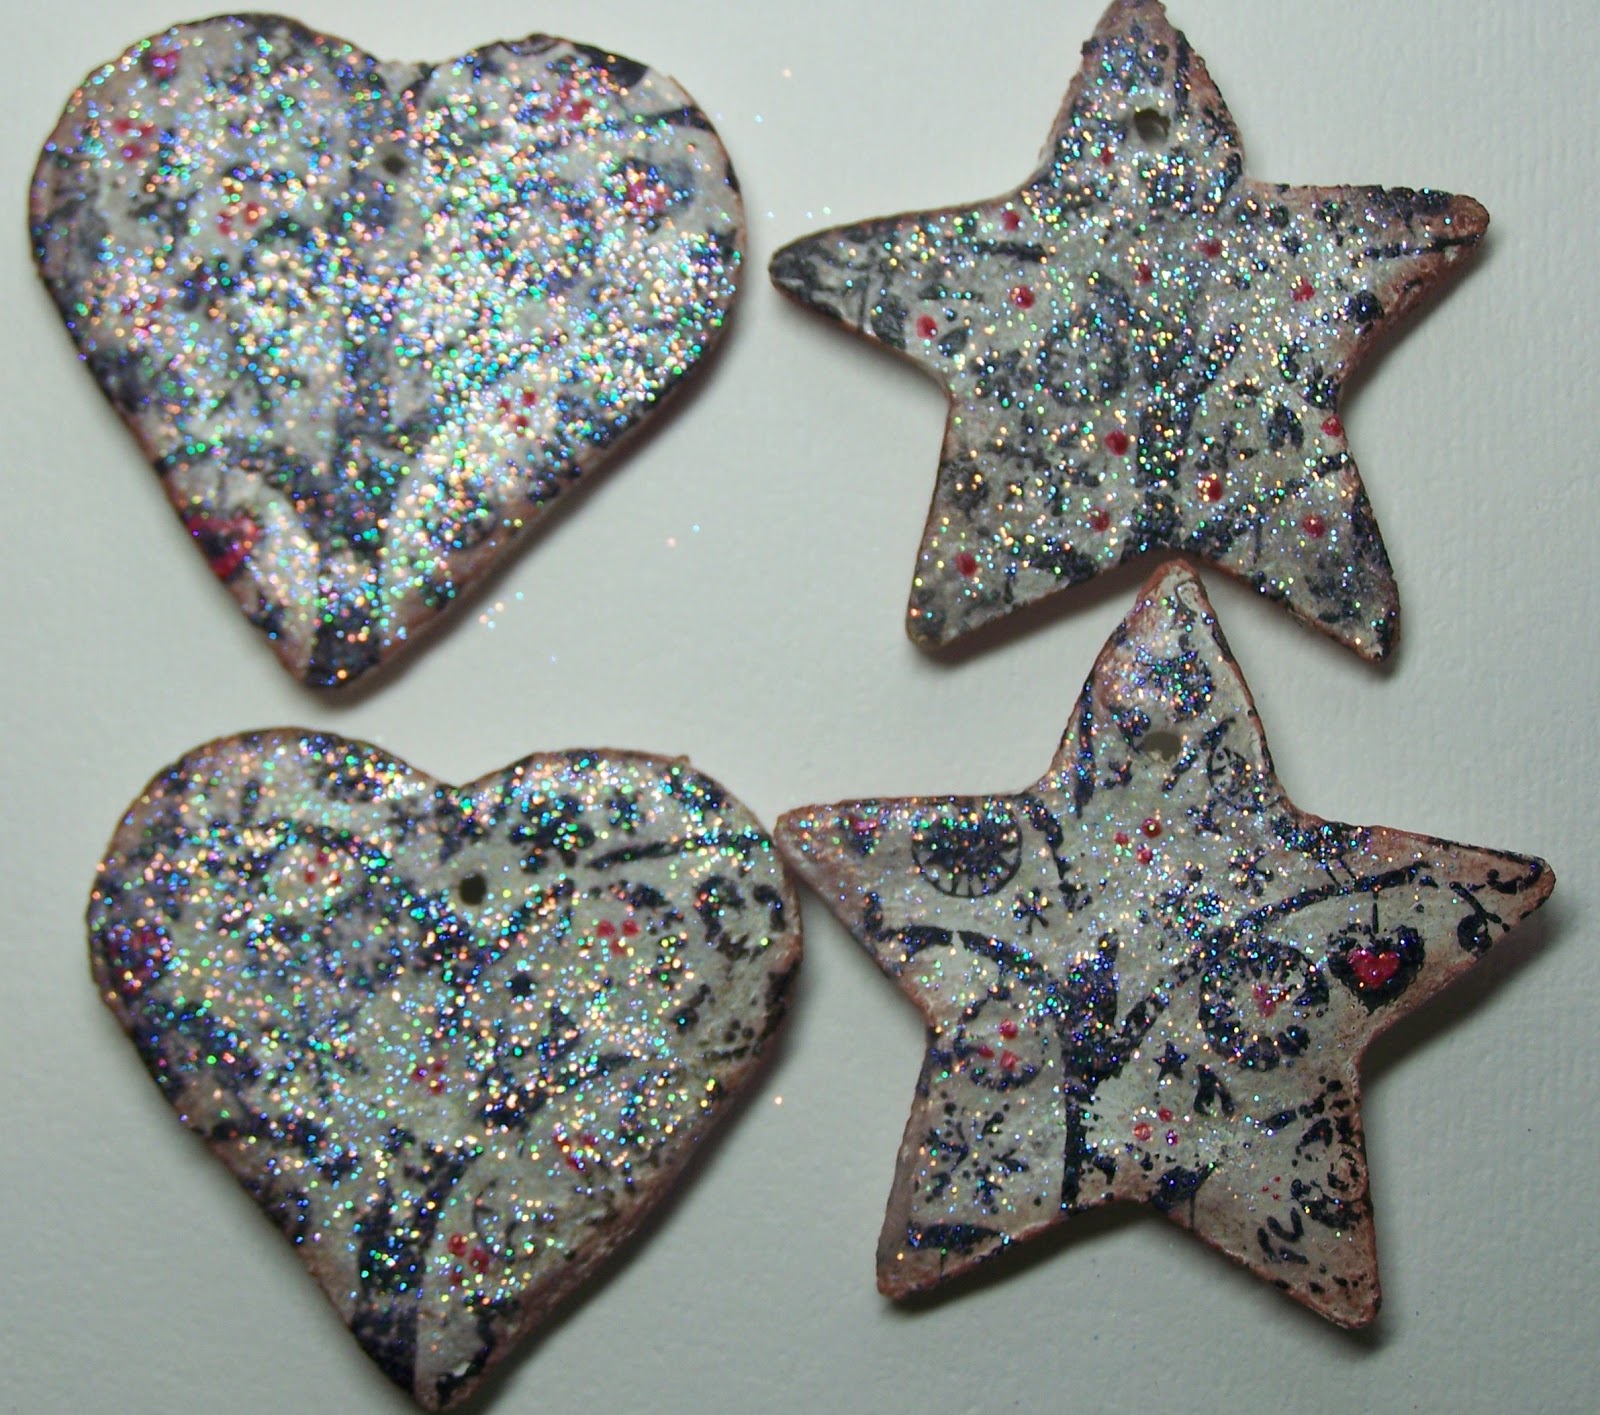
I used a basic children's ready made paint but needed several coats. Once dry, I inked up a few of my favourite stamps and lightly stamped over the shapes. I used Memento inks which did smudge slightly so I would probably go for Staz-on next time. Embellish with Liquid Pearl, Perfect Pearls, Glitter, Metallic rub-ons......the choice is yours. 

I found it quite effective to varnish then sprinkle glitter lightly over the shapes.

I am stringing these as in my previous post, with natural twine, a little lace and some gingham ribbon.


First completed salt dough decoration!


Well, I have had limited success with the salt dough decorations! I took a couple,painted them....several times, then attacked them with inks, glitter, metallic rub ons.....etc. I decided to try out some Glossy Accents but I was either too impatient and rushed in too quickly, or the Glossy Accents had some funny reaction to the paint- it all clouded over on one side of the decoration so I scrapped that one! The little star didn't look tooooo bad, so I just went with the flow.


I now have loads of little shapes all over my work desk, all painted and ready for attack with my inks...oooo....might try some perfect pearls too! 


Tuesday 18 December 2012

Attempt at Salt Dough Christmas Decorations!

Yep, as if I haven't got enough to do...I had this mad idea to attempt to make some Xmas decs using salt dough. I did try some a few years back, but as usual, I left everything to the last minute, tried a microwave recipe to save time....and mucked the lot up completely!

Fingers crossed, I will be a little bit more successful this time. We all helped make the dough and cut them out last night and they don't look too bad. A few wonky, lumpy, bumpy ones, but hopefully that will add to their "homemade charm!" LOL

After being awoken by Amelia at 2am this morning, then spending the rest of the night coughing, I was in no real fit state to work today so I thought I'd paint a few little decs as I sip my Lemsip.

I have so many ideas at the moment, perhaps I need to start thinking of NEXT Christmas already, instead of leaving everything to the limit! He ho ho ho!

Anyways, here's a taster of what I am doing in their naked state!


Wednesday 12 December 2012

Reindeer Flight!


I have had this die for some time now but I can't think of actually using it before! I had only ever got as far as  making up some distressed card using inks and glimmer sprays, then stamping and inking a few little reindeers......which have sat in a box for well over a year! UNTIL THIS AFTERNOON!


Simple card, attacked with my sewing machine and finished with some metallic sheen.

Woolly hugs on their way.......at last.


It's been an awful, awful day. So much to do on my "day off!" Was awoken by Amelia just before 4am and didn't really get back to sleep. I have an absolutely pounding headache, I argued with Jack and shouted at Amelia when she tried to smuggle in toys just as her school bus arrived. It's nearly 11.30 am and I have achieved hardly anything! First things first, I need to take some painkillers before I topple over.

One tiny little thing I can cross off my list is the posting out of my Woolly Hugs squares! I will hang my head in shame to say I started these way, way back in March, possibly even February, I am absolutely disgusted with myself considering how quickly I actually knit. I probably spent a day or so actually making these, the rest of the time was spent forgotten and stuffed in a cupboard while my chaotic life took over. Even when they re-emerged, it took me ages to dig out a large needle and sew in the ends!

STILL< they are done, dusted and in transit to a new home, where they will be lovingly assembled with like-minded little squares to provide love, hugs, remembrance and warmth to those in need.


Colours are awful, sorry....I was not going to wait any longer for a bright and sunny day day to take photographs! LOL

Wednesday 5 December 2012

It's Snow joke.


I have had a "day off" today so I ventured into my little craft room to make a start on my Christmas cards.
Unfortunately I spent more time moving stuff around, putting things back in their right place, stuffing bundles of "Ebay clothes" into the big cupboard in an attempt to not feel quite so claustrophobic. It didn't really help with my creativity I am afraid.

I tried to come up with a simple card, quick and easy to make, that I could make up in bulk rather than send out shop bought cards this year......judging on how it turned out, I think I'll be going card shopping at the weekend. Not a happy bunny!


I made up a backing paper using a music stamp, distress, inked and sewed around. Layered on a snowflake, wrapped in ribbon and twine. Added a few little details and whoopie, 1 more card in my Xmas box!


This card was made using a charm to meet the requirements on the current challenge over at 
Crafts by Carolyn. come over and join the fun!